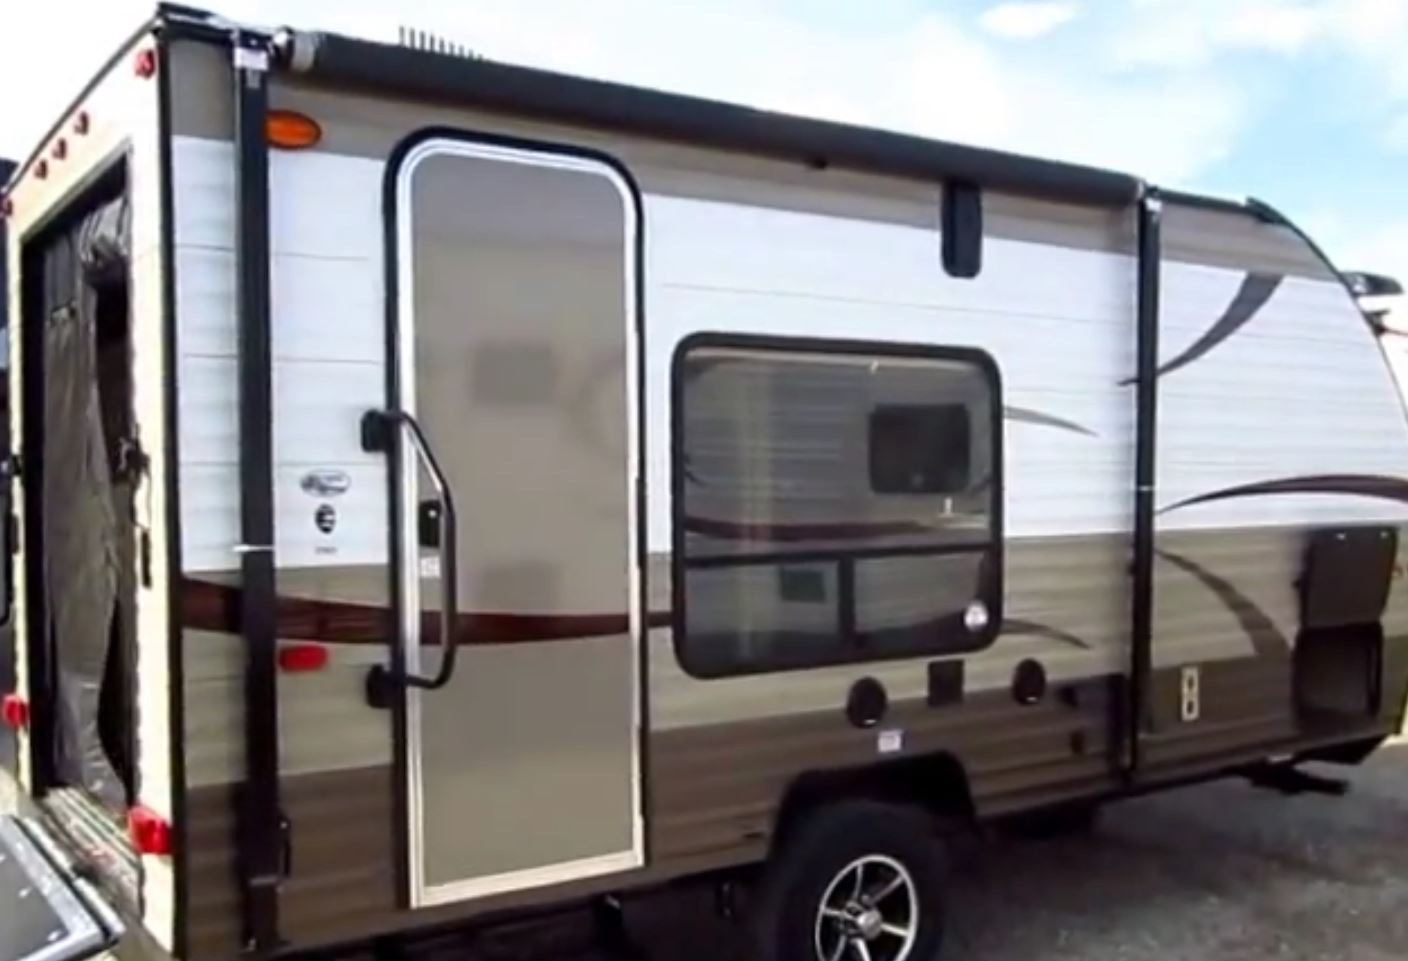
The Wolf Pup is 9 years old, and the door hinges are messed up.
Campers and RV’s are a challenge because they use hardware and techniques that are not used elsewhere. Getting the right hinges took some effort. It uses a double hinge that attaches to the door and the screen door. Amazon had some generic hinges that may have worked, but brand names are more reliable.
Lippert is a big name in RV components. The appropriate hinge was not on Amazon, but was on their website.
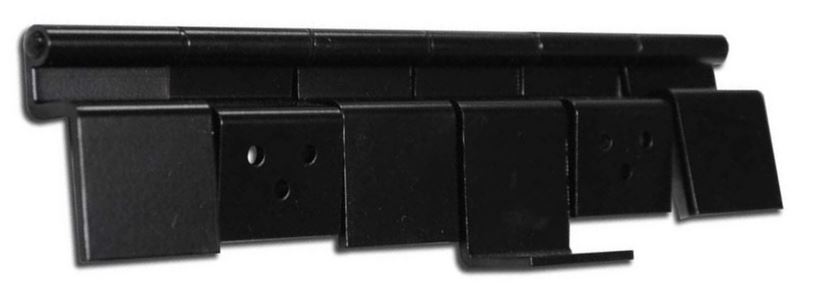
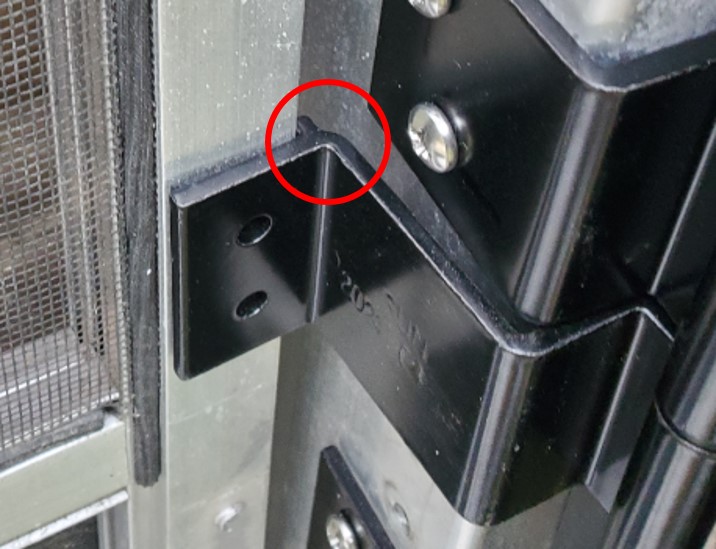
That leaf that sticks out is for the screen door.
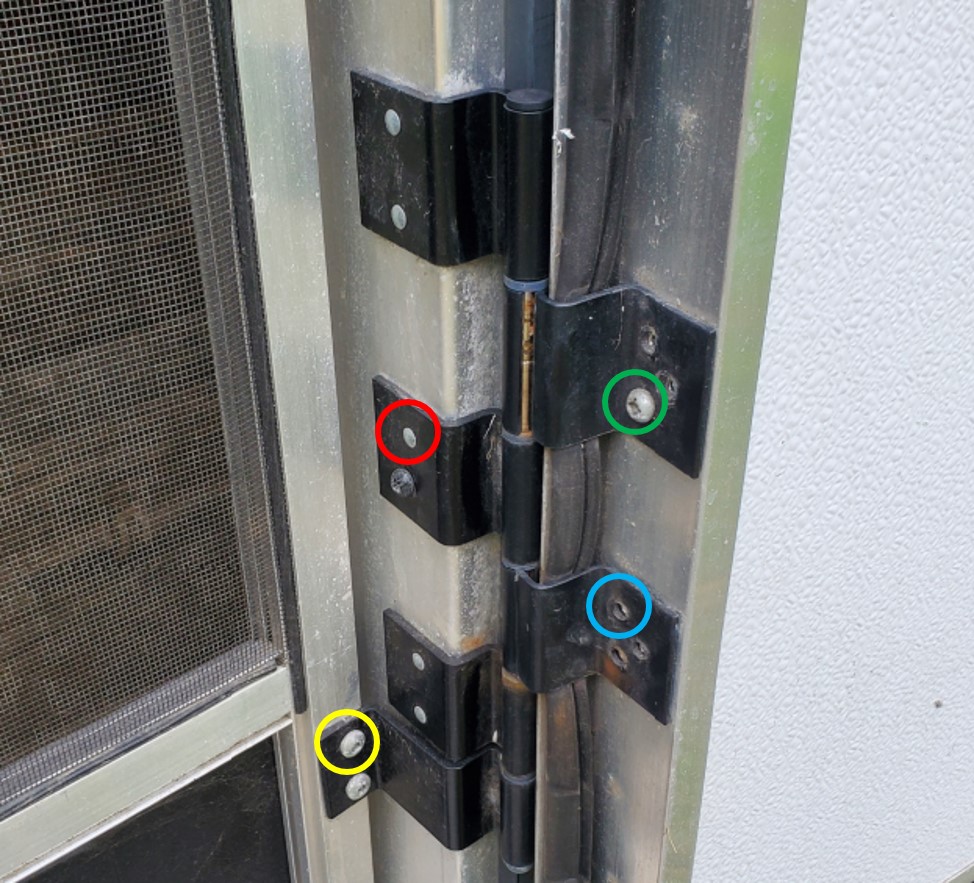
The door has three hinges like this. I had already removed a few screws, and that’s indicated by the blue circle. The door, with the green circle had screws, as did the screen door with yellow. The frame used rivets, circled in red. It wasn’t clear how to remove the rivets.
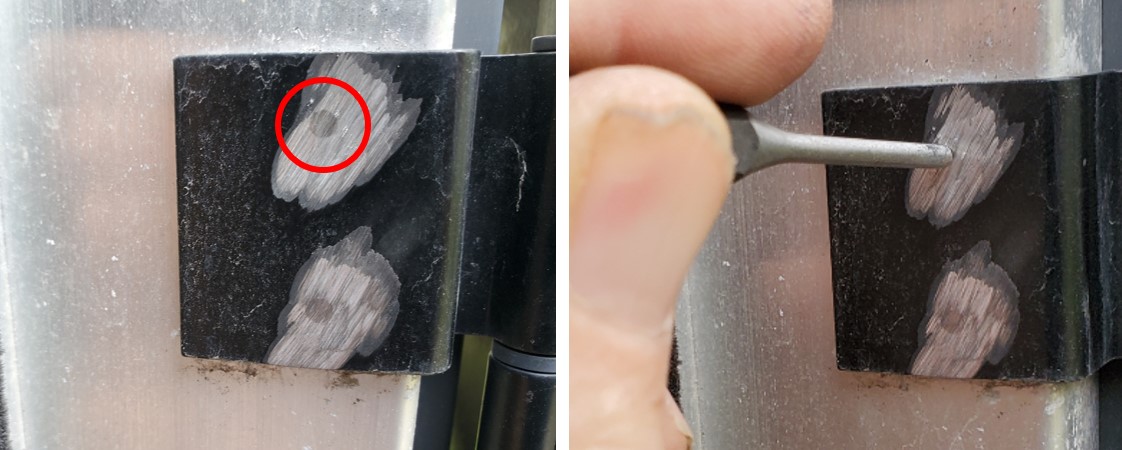
Pop rivets are light-weight and can be easily drilled out. These were steel posts with a mushroom head. Since the hinges were being replaced, an angle grinder could be used to remove the head while crapping up the hinge.
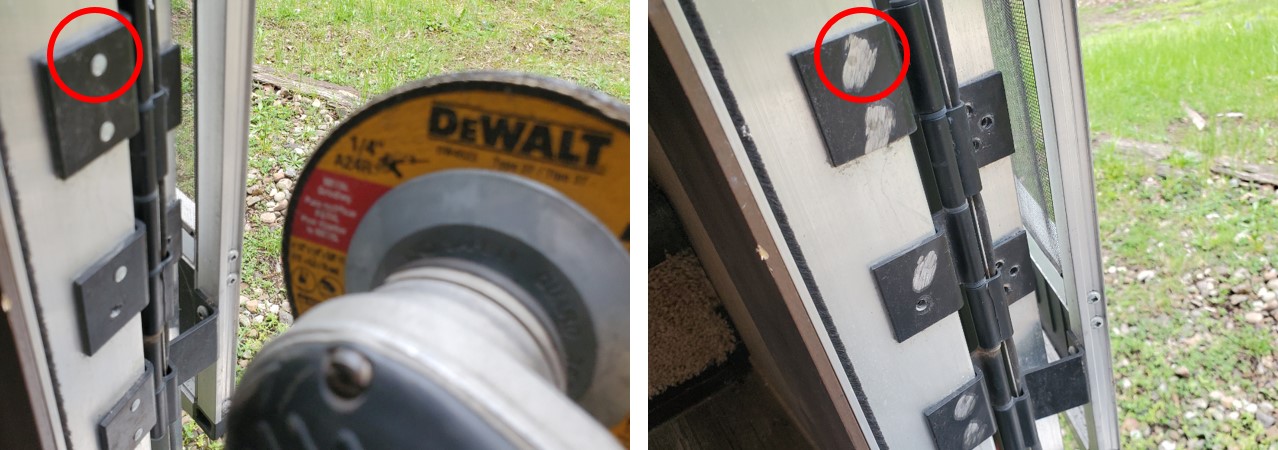
Once the head is ground down, the post is visible. The hinge could be pried from the frame, but the best approach is to use a punch to tap the pin into frame.
The hinge is well-designed, and practically lines itself up. Also, with a camper door, one hinge can be changed at a time. That makes fitting the door pretty simple.
The door frame leaves had no holes, so a template and center punch were used to layout those holes. That’s the blue circle. No effort was made to match the existing frame holes.
The door leaves had holes. I only needed one screw to match an old hole. That establishes the vertical position. At the red circle, the edge of the hinge should be flush with the edge of the door. The green circle shows that the corner of the hinge should be be pushed up to both door frame surfaces.

The frame is aluminum, so I used #8 stainless steel pan head sheet metal screws. Length doesn’t matter much, but the screen door is pretty thin. I used 5/8″ for the frame and 1/2″ for the screen door. Each leaf was pushed tight to the frame, and a pilot hole drilled through the leaf and frame. By drilling through both materials at once, the leaf will be in the proper location when the screw is installed. A clearance hole was drilled through the leaf.
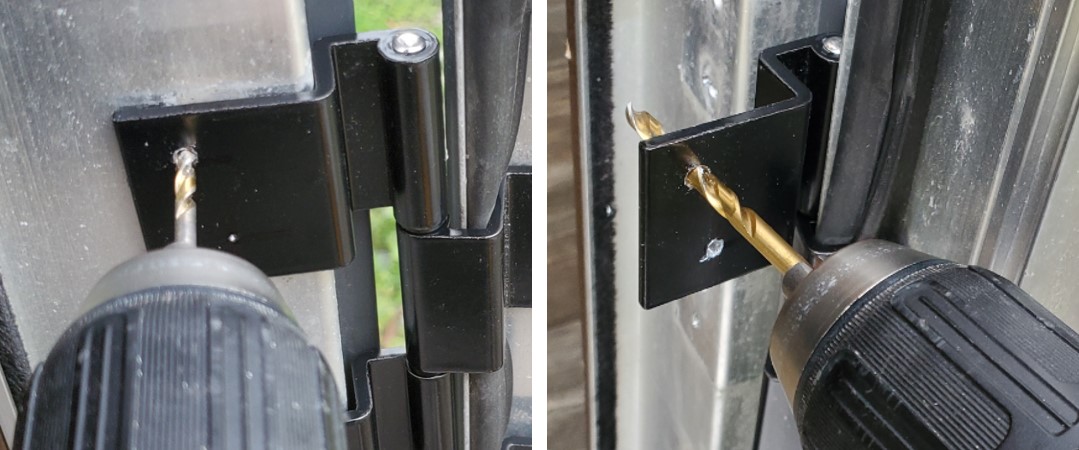
Once all of the frame holes were drilled, screws were installed with a DeWalt nut-driver. Aluminum holes can strip easily, so do the final tightening by hand.
Using the existing leaf holes, the door was drilled and screws installed.
The leaf for the screen door has a little positioning tab. Punch, drill and screw.
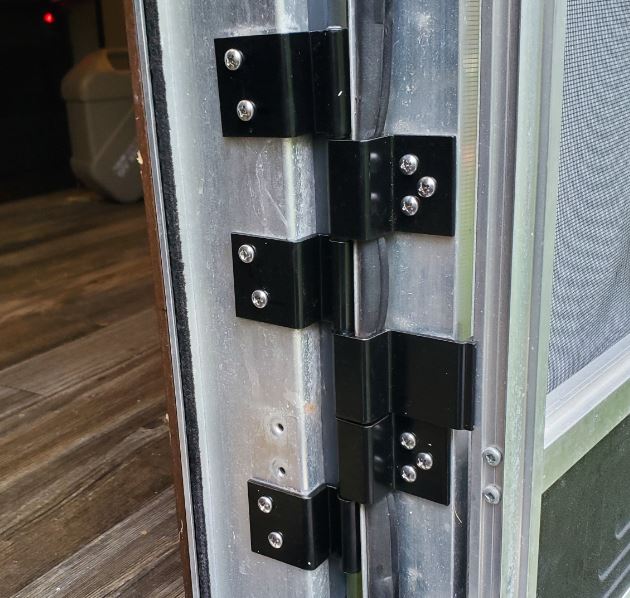
The hinge goes together pretty quick and looks good. Since there are so many screws, no single screw has to be super tight.
Since only the convenient old holes were used, what’s to be done with the unsightly superfluous holes?
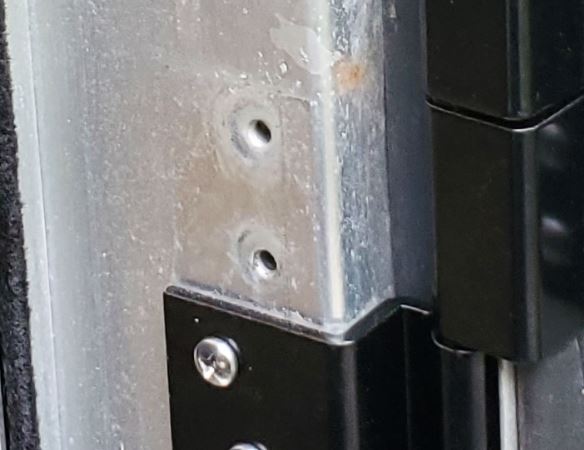
Put screws in those holes. Just make sure the screw isn’t going to interfere with anything.
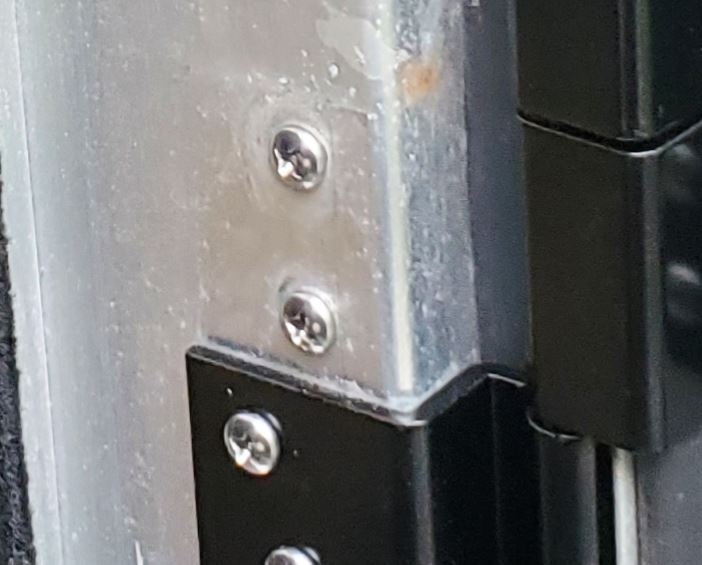
That seems shady, but take a look at the screen door on your house. There are screws all over the place. Nobody knows what they do.
I changed all three hinges. The top hinge was bound up with corrosion or damage so it is hard to move by hand. That made the door difficult to open. Now, the door moves free and easy.
Leave a Reply