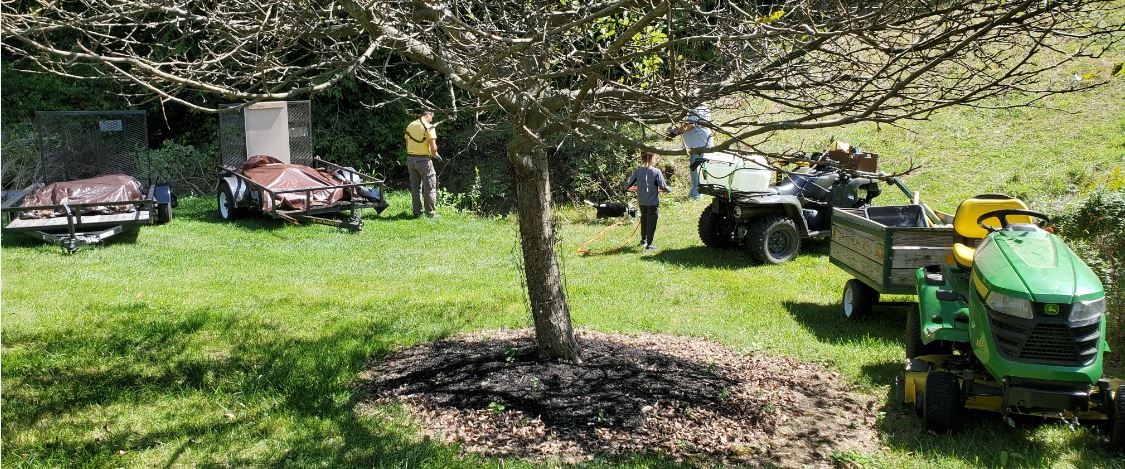
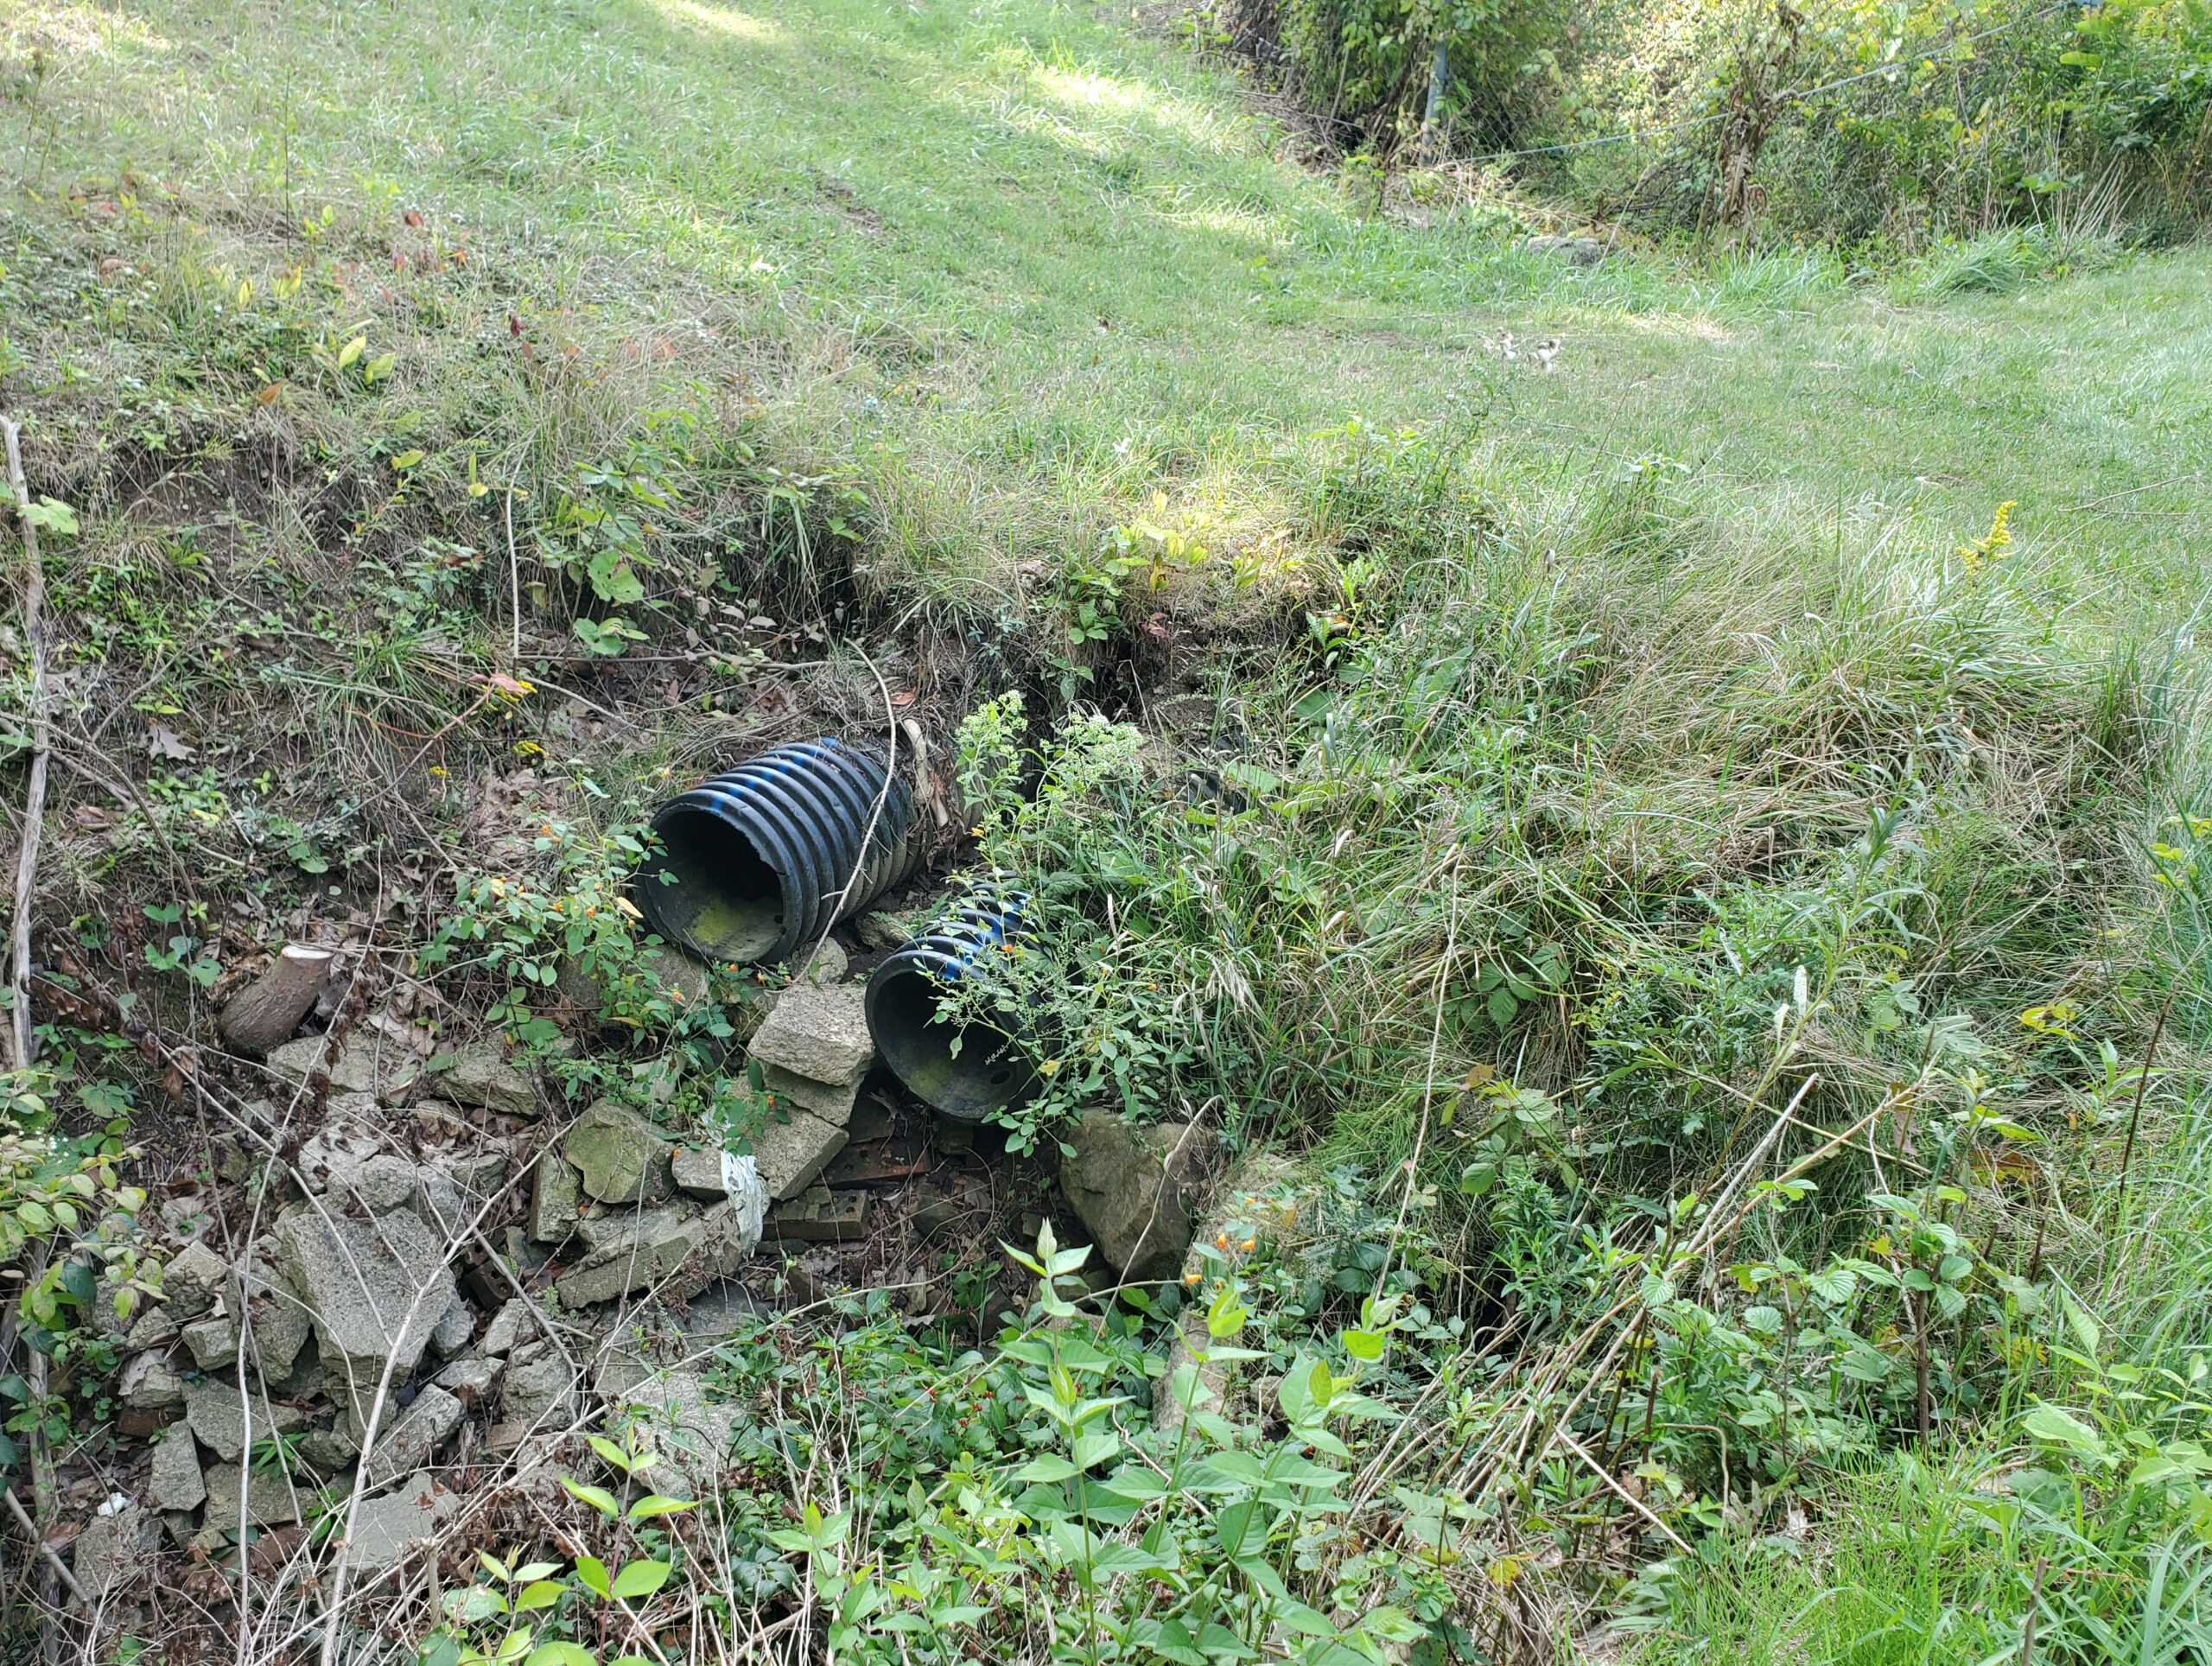
There is a project I’ve been dreading for three or four years. The land bridge over the creek has been eroding, and there are too many options for a solution. Also, there is a chance that the culvert pipes are too small, and would need to be replaced.
In a heavy, sustained rain, water goes over the land bridge. On the down stream side, the ground has been eroding.
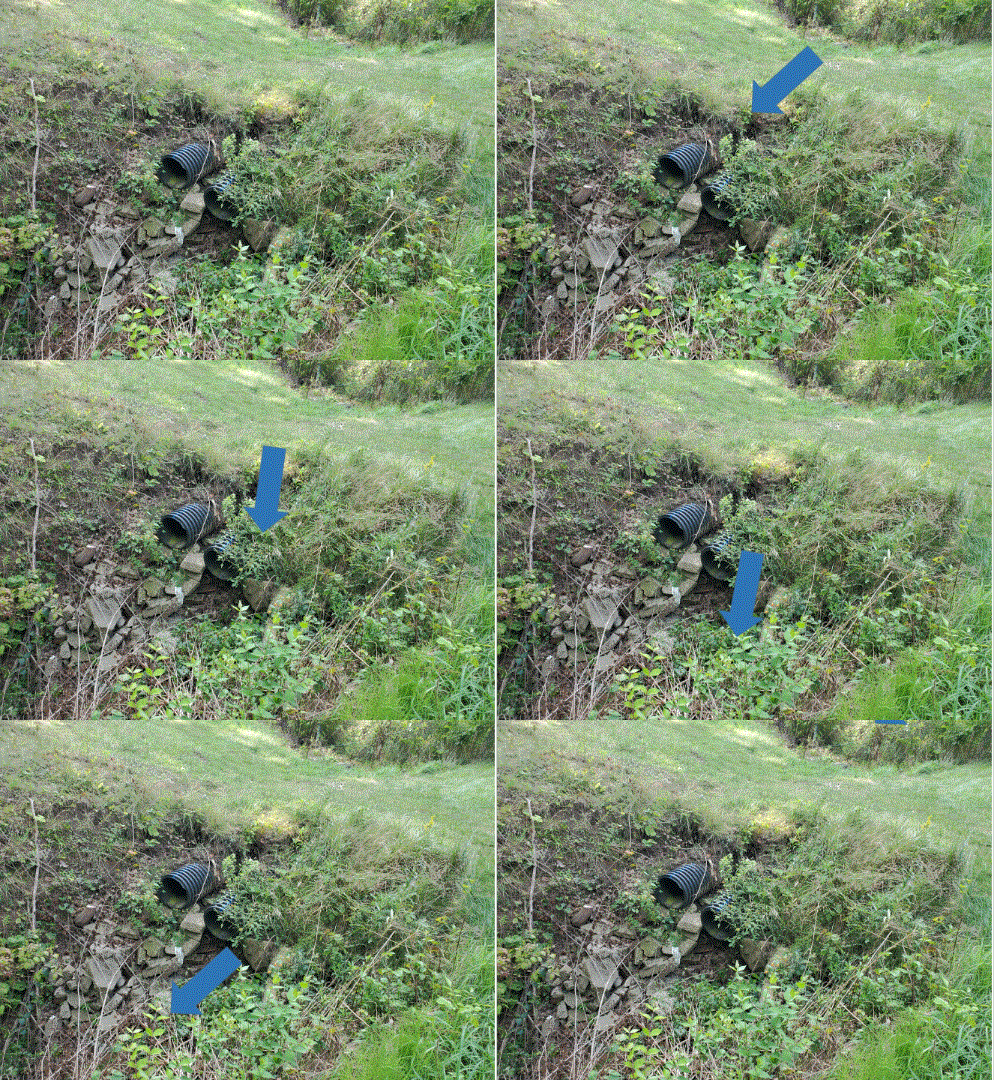
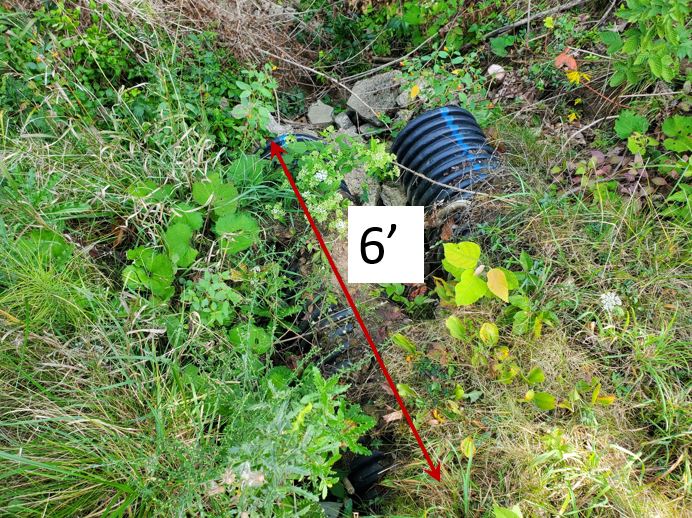
I put the land bridge in, I don’t know, 18 years ago. The dirt has been washed away back about 6 feet. There are two 18 inch culvert pipes, which is usually sufficient. To replacing those would require an excavator and a 36″ culvert pipe. At a minimum, that’s a $2000 DIY job.
The other approach, which could be a stop-gap, is to build a head-wall on the downstream side. That’s a wall from the creek bottom up to ground level. If water washed over the top, it shouldn’t erode. Anything requiring an excavator or pouring concrete is a big job, beyond my ability. That’s what kept me from addressing this.
On Youtube, there are several videos of people making stacked concrete walls. Bags of concrete are stacked like sand bags. Rain soaks through the paper bag, the concrete sets up, and hopefully, there is enough of a bond between bags to keep it from falling apart.
Here is the before and after.
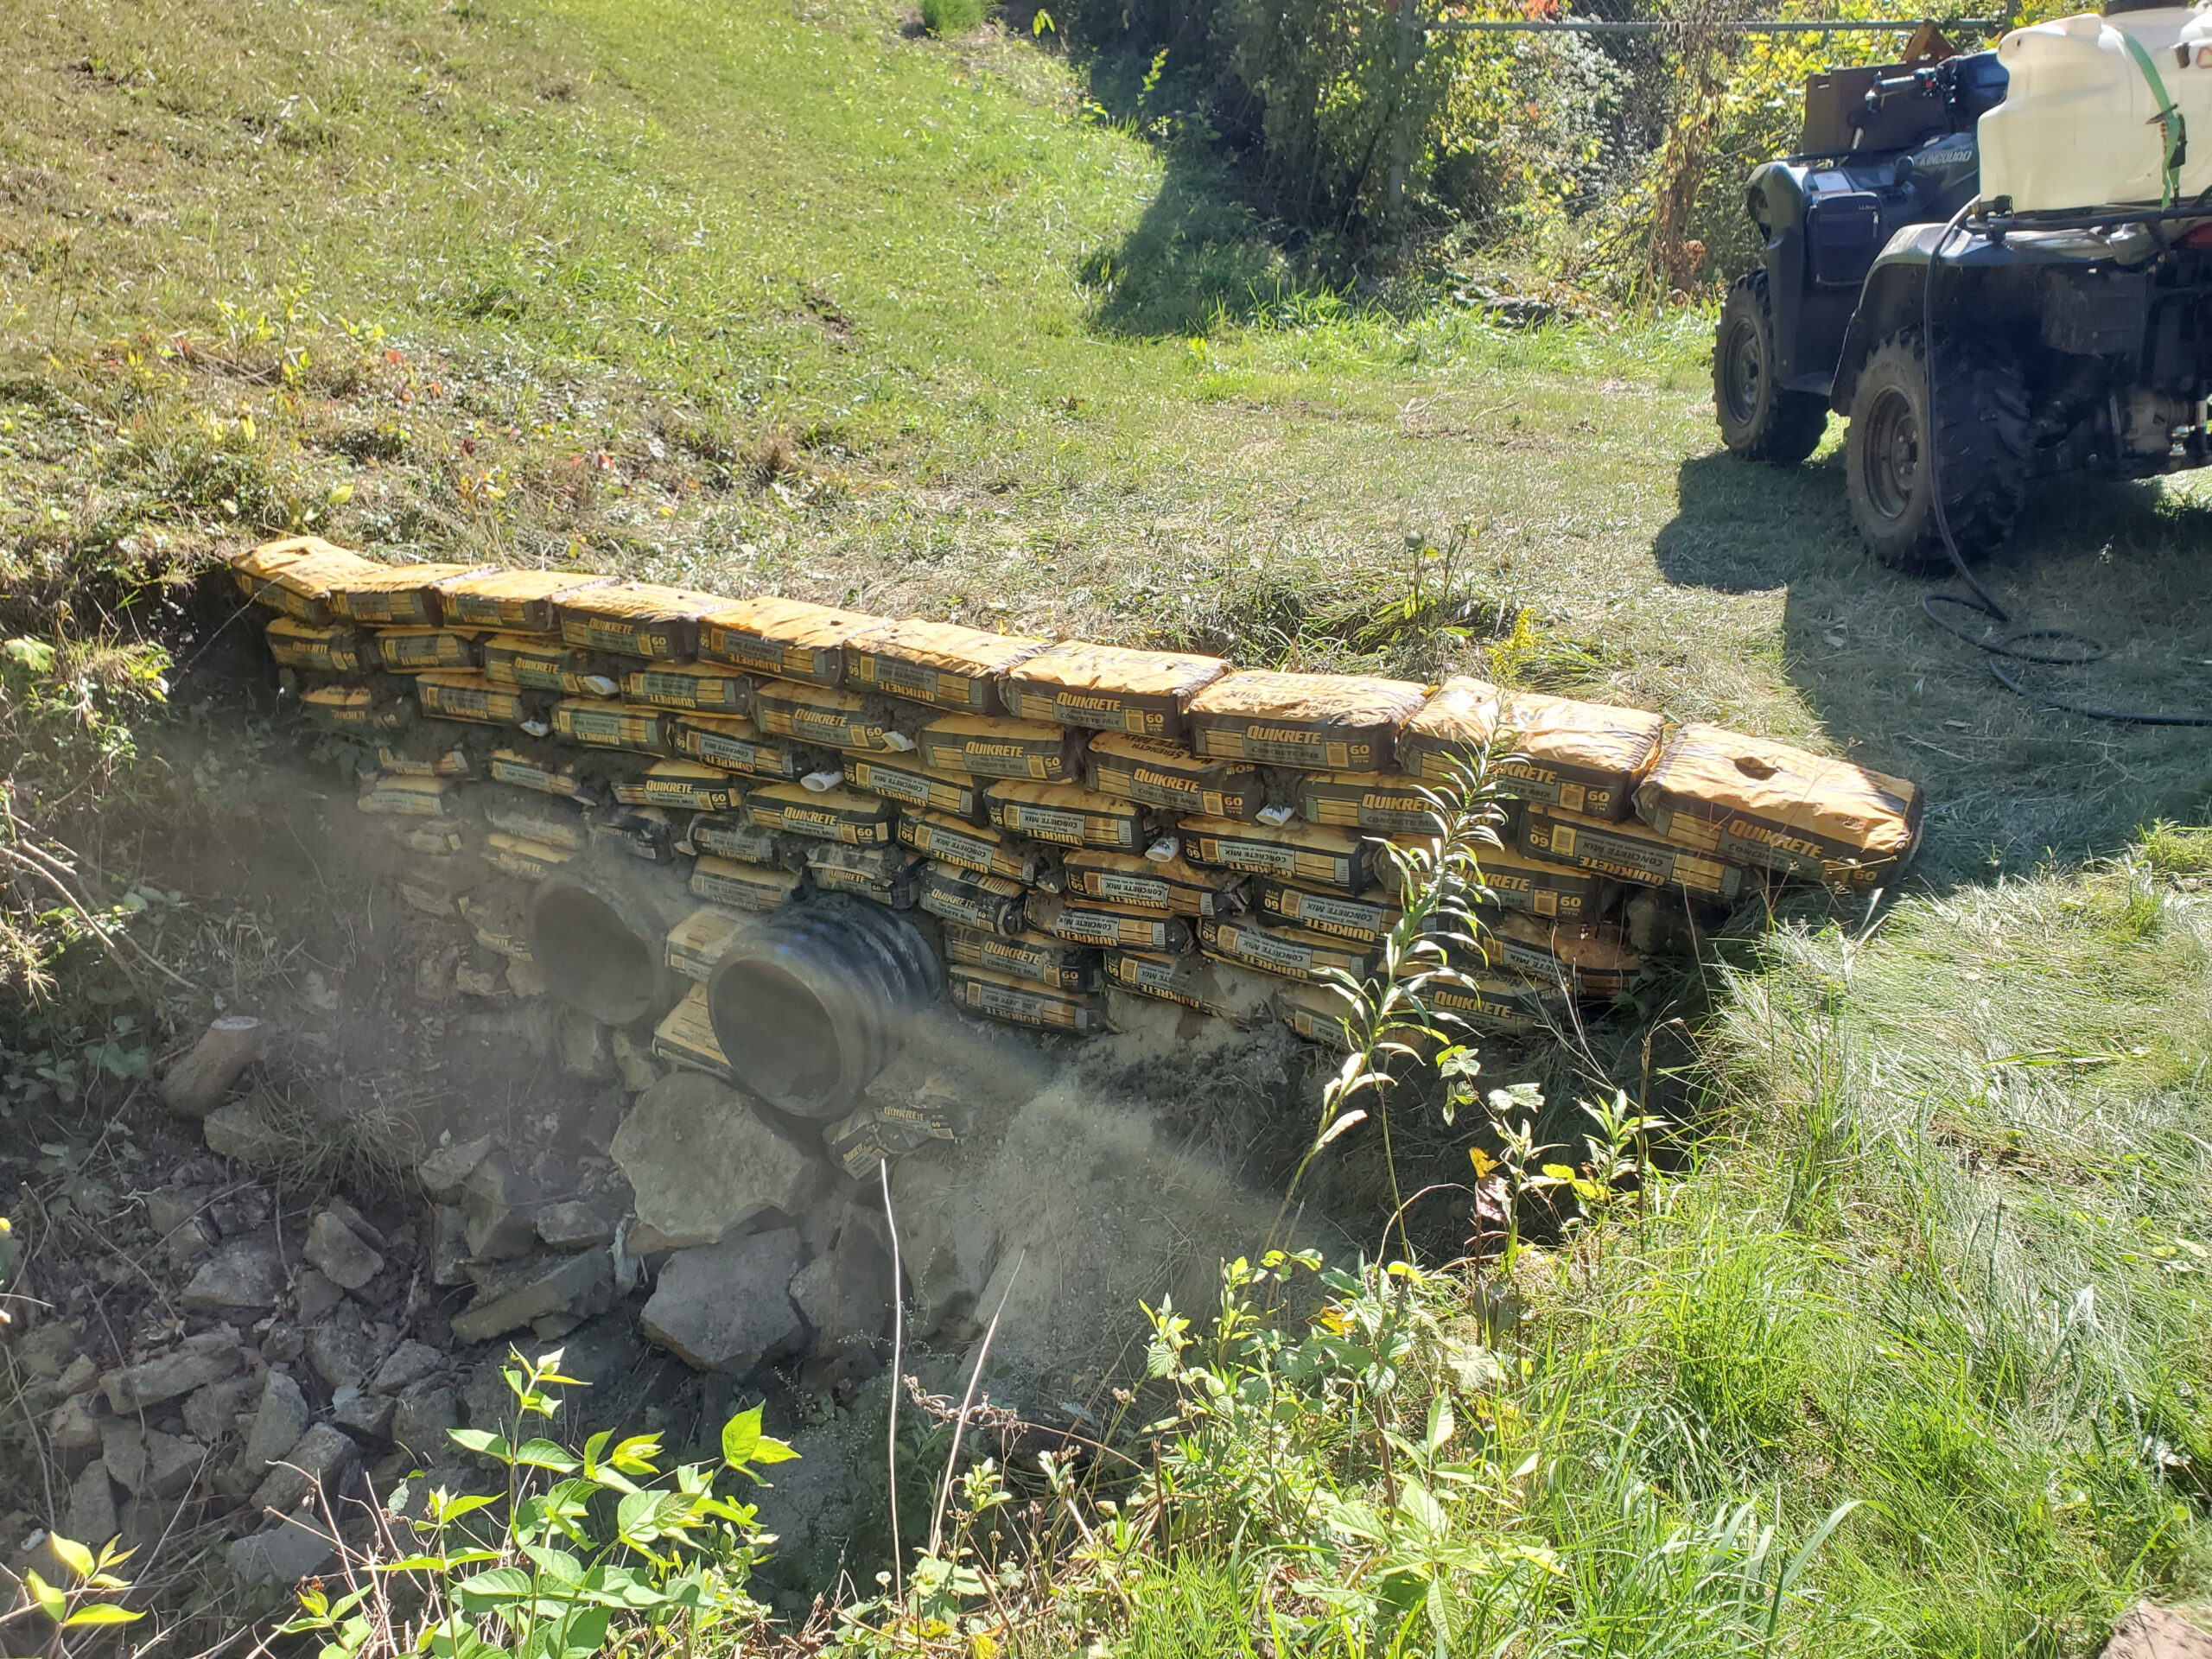
Pete and Joe came to help. It took us three hours and 80 bags of concrete. Never having built anything this way, I had no idea how the project would go. With concrete, it’s always bad to have wet concrete start to dry out, and put more concrete on top. I didn’t want to run out of concrete, but moving 4800 lbs isn’t easy. I also did not want to move bags any more than necessary.
Prior to starting, I had two trailers loaded with 50 bags of concrete. The plan was to empty one trailer, send Pete to get more, while Joe and I ran through the 20 bags on the remaining trailer. I bought a bunch of 2 ft rebar, and cut them into 12 inch stakes. Each bag was staked, tying it into the two bags below. We also had 10 foot rebar to lay across the top of each course.
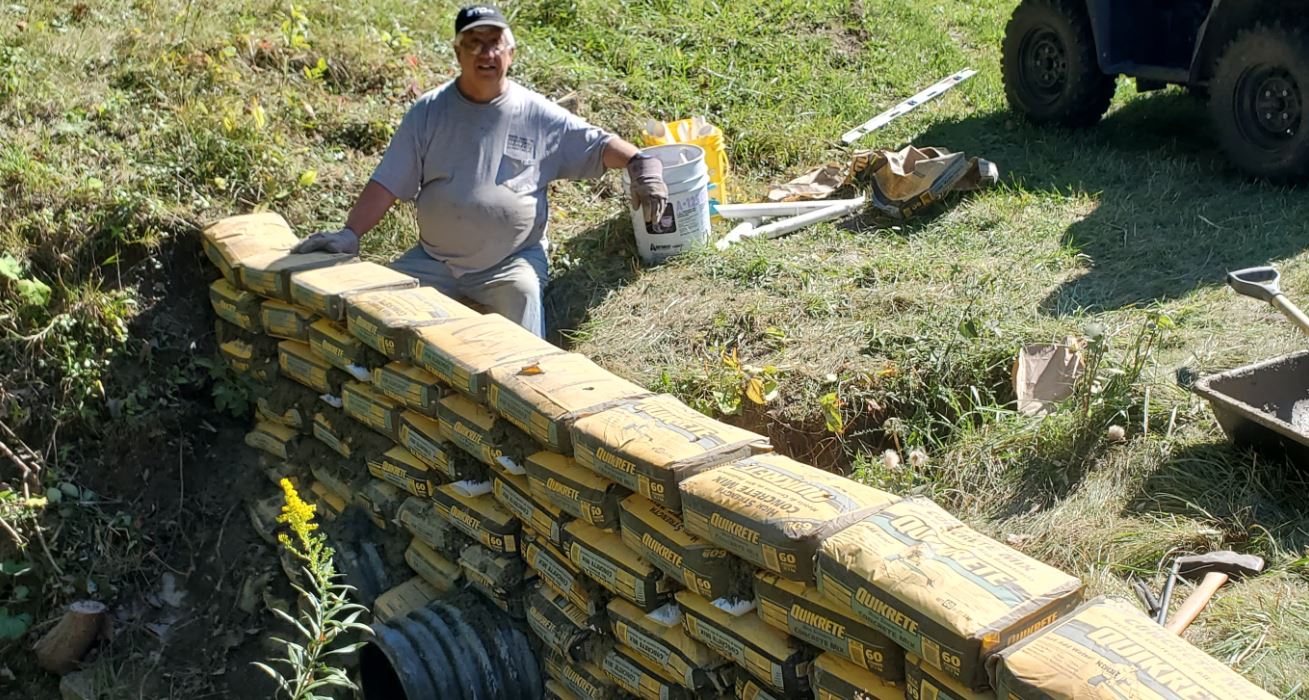
The tricky part was always going to be under and around the culvert pipes. After we were above the culvert pipe, the courses went pretty quick. A couple of PVC pipes were inserted in each course to drain water behind the wall to reduce hydrostatic pressure behind the wall.
We made a few batches of wet concrete to secure the PVC pipes and to level out bags to keep the courses approximately level.
Initially, we hosed down each course so the interior concrete would get some moisture. That weakened the paper bags. It wasn’t a problem unless the bag had to be adjusted, then it would fall apart. We cut that out after we had the first course above the culvert pipes.
When we were finished, I soaked the bags, and will probably hose them down a couple of times per day. I will let the wall cure for a month before putting fist-sized rocks behind the wall for drainage.
I really hope this works.