Planting a tree is a good project because once it’s established, the tree does all the work.
Category: Projects (Page 1 of 10)

When I saw the Sagrada Familia basilica being built in Barcelona, it seemed very planet-of-the-ape-y.
It was designed by Gaudi, and has an organic look that I really like. This was in 1991, and since it was being built by Spaniards with private donations, I doubted it would ever be done.
Now it is finished, mostly, and there is a Lego Sagrada Familia kit for $799. It looks horrible.
We’ve been busy doing grueling and grimy work, so I didn’t take many photos.
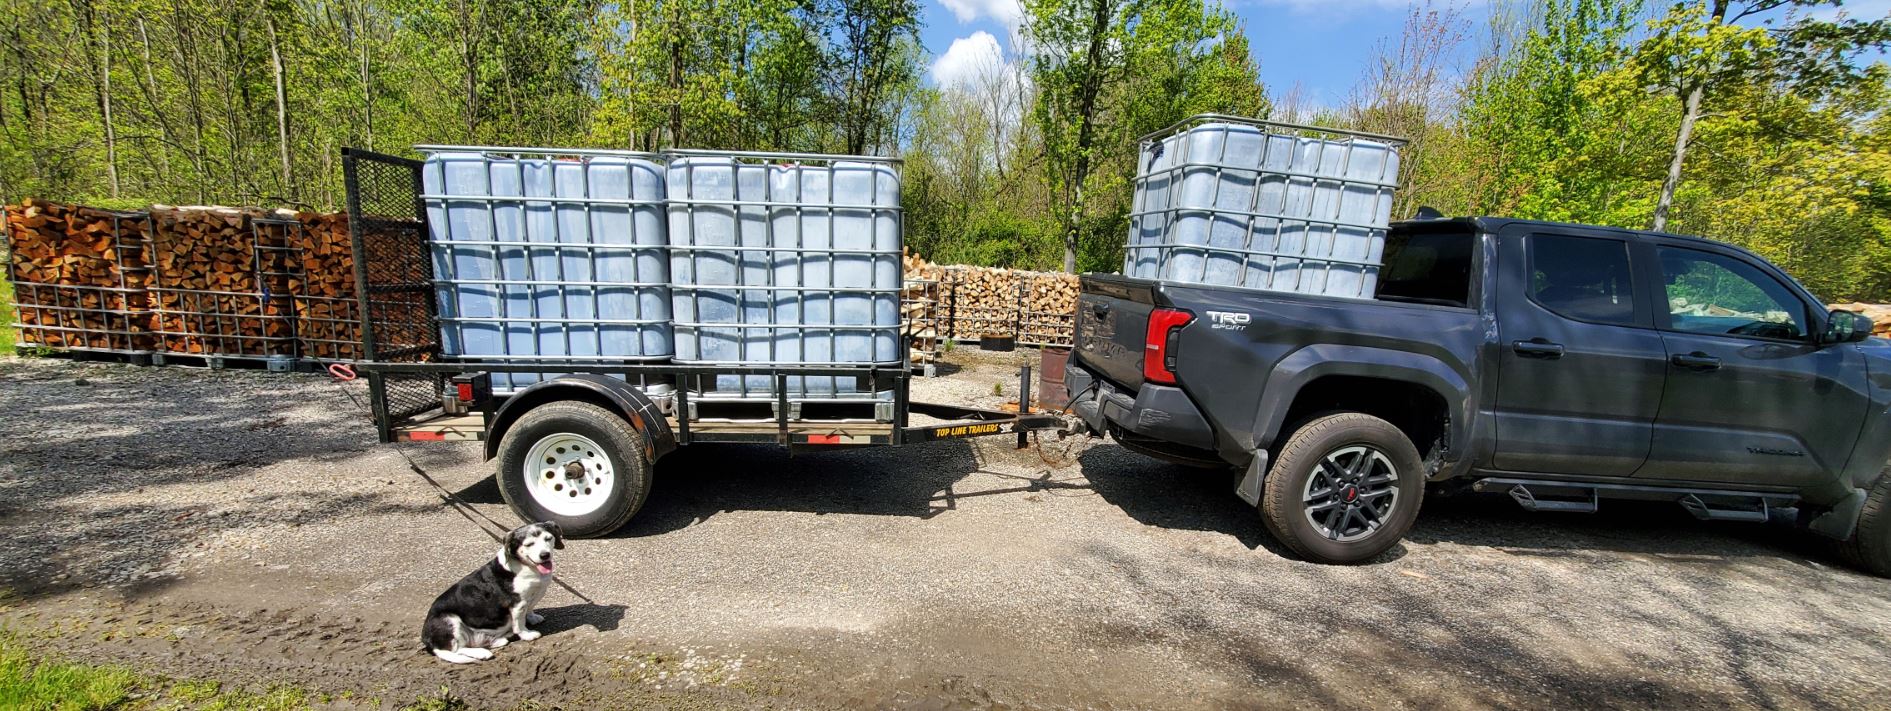
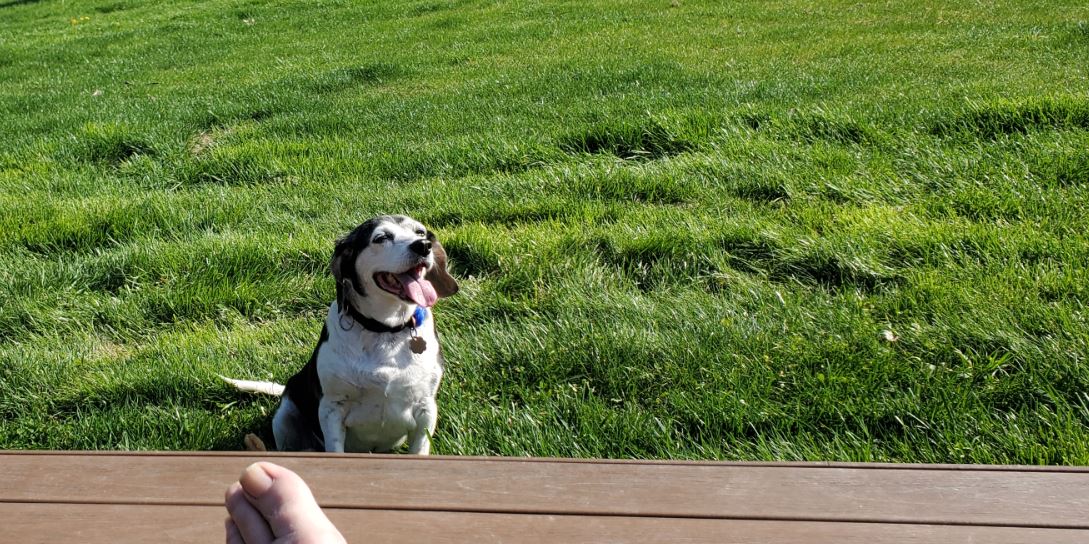
During Sparky’s long day, we shuttled IBC totes from the mulch yard, to my buddy’s house for later retrieval. He’s got a thriving firewood business, so I wanted to get the totes from his house to mine, then set them up for firewood.
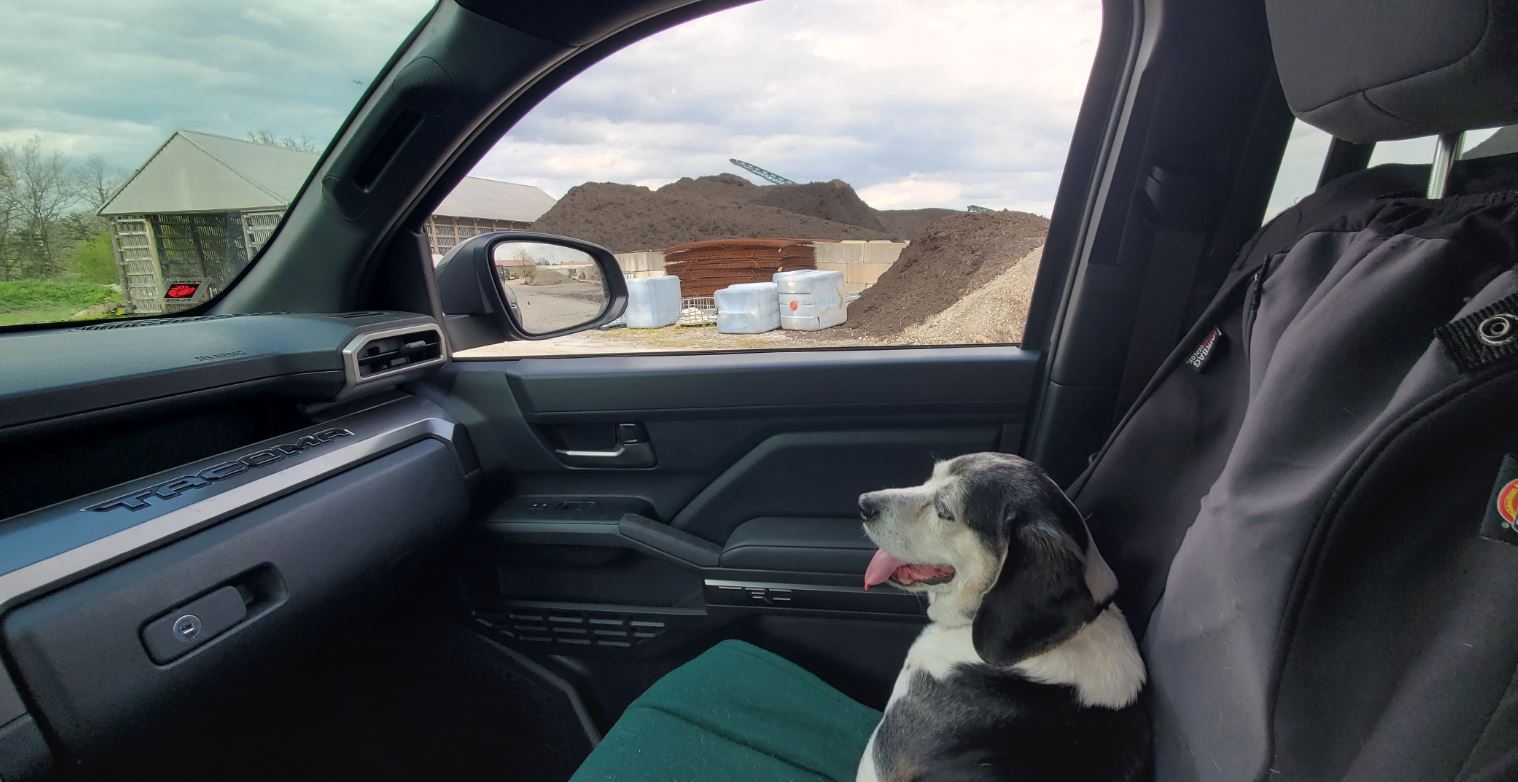
Sparky likes a car ride, so he wanted to come along to the mulch yard. It was a longer day than he’d expected.
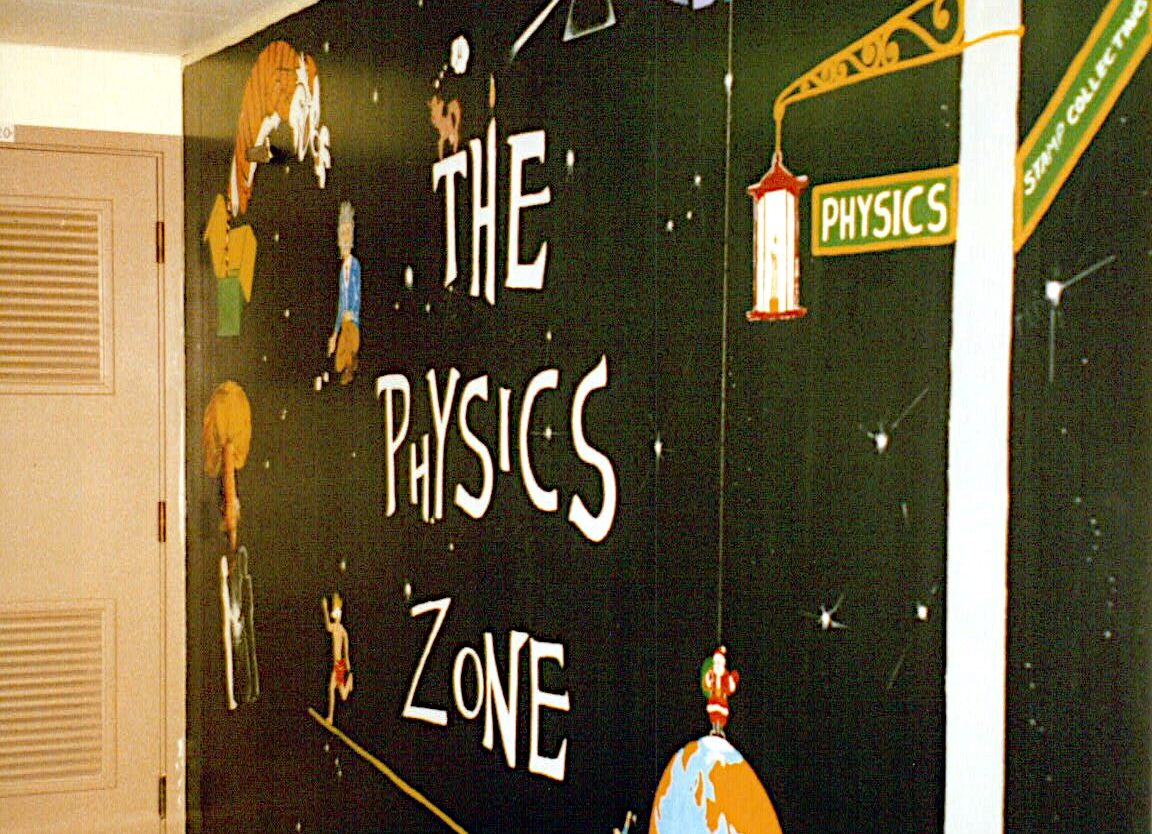
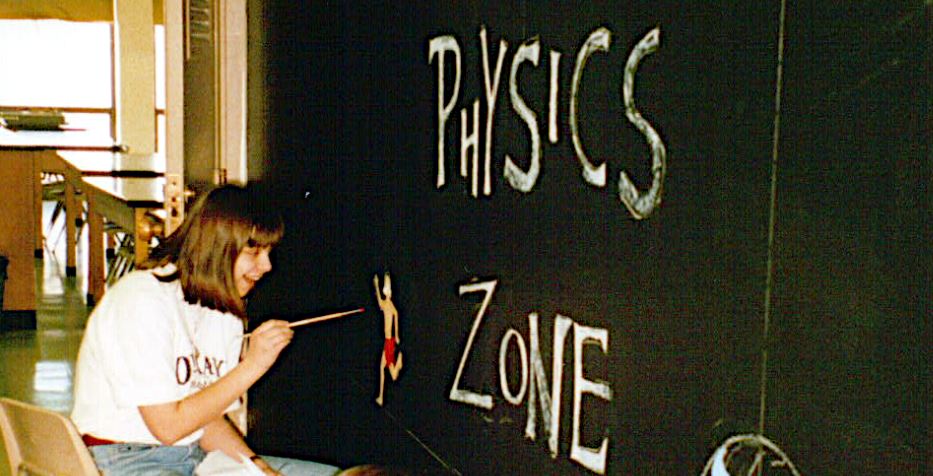
When I started teaching at Normandy in 1995, I was coming off of an engineering career that was mentally challenging because every project was unique and exhausting because of the long hours on site and extensive travel.
I was enthusiastic. Normandy was a great school for me because nobody was paying attention. I could do whatever I wanted, and I wanted to do so many things. I didn’t care about the time, money or effort, if something seemed like a good idea, then we did it. The mural was a good idea.
Continue reading
Today is the 40th anniversary of the Chernobyl Disaster. Today, people know about the disaster, with many becoming familiar from the excellent miniseries Chernobyl. It has an IMDB score of 9.2 and is worth watching on HBO Max.
At the time, it was the radioactive fallout over Scandinavia that got my attention. Ten years later, I had a student who had been there.
I have been painting molding and trim in the solarium. Over time, it gets nicked up and scratched, so it’s a nice, limited project. Sparky doesn’t like it because I can’t stop to play. When I am sitting on the floor to get the low stuff, Sparky isn’t welcome to help. I have to send him away.
Now that the work is done, Sparky is happy to go outside and goof around. It’s so nice out, I’m tempted to get a beer and go back outside.
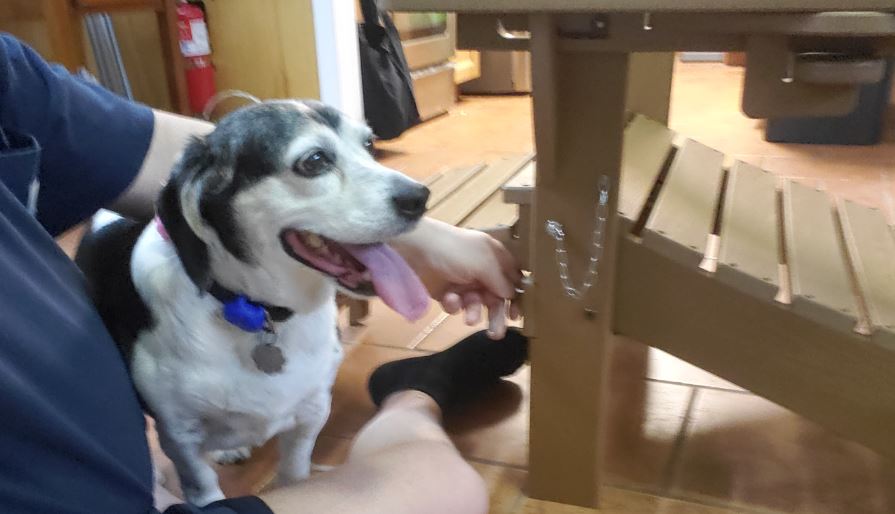
I wouldn’t post on a furniture assembly project, but Sparky was adorably disruptive.
Dogs can sense human moods through a combination of superior scent detection, keen observation of body language, and vocal tone recognition.
Sparky is wise in the ways of man. He sees that I am moving around and concentrating. No food is involved. Sparky squirmed in between me and the chair, and tried to look innocent, like he just happened to be standing there for no reason.

After Mom had her cataract surgery, she looked around her house and complained about how filthy it was. Nobody said, “No shit, that’s why we sneak in to clean the place whenever you are gone for the day.” We were hopeful that her better vision might usher in a new era of modern cleanliness.
We forgot that people have a remarkable ability to adapt and overlook, if that’s what it takes to not have to change or do anything.
Mom would have liked Rusty and his rustic bathroom habits.1 After Rusty moved out, the empty-the-room deep clean allowed me to notice the nicks and scratches that had accumulated on the door thresholds and trim. My new project is patching and painting.
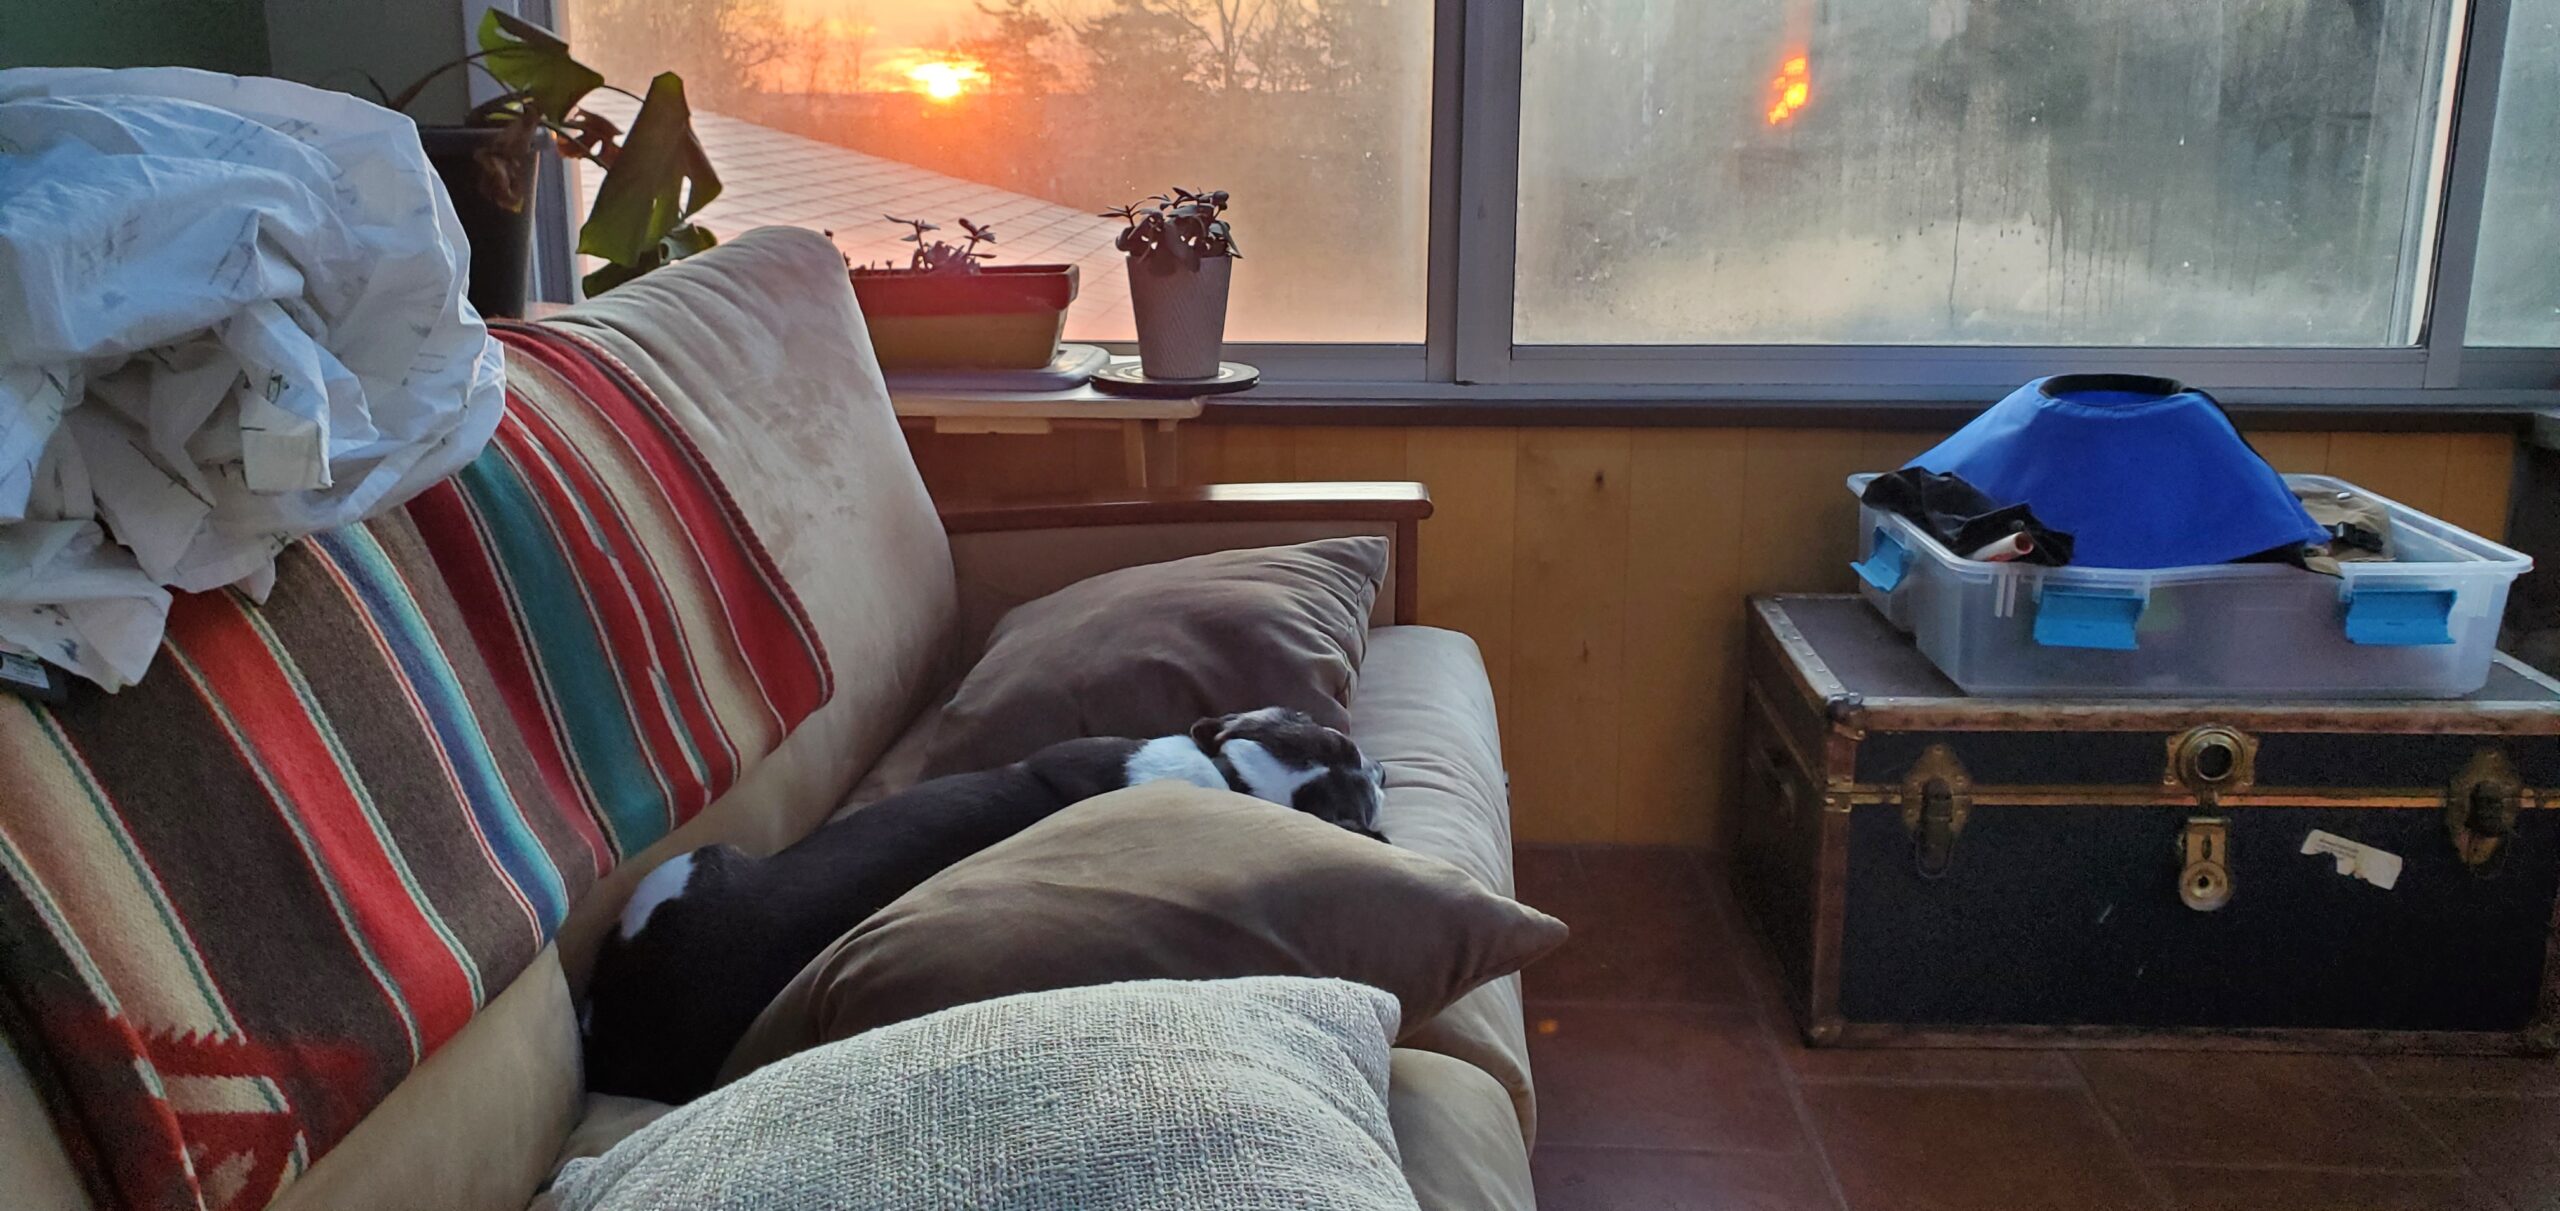
For the third night in a row, Sparky has slept on the couch.
Last night, I scattered throw pillows to make the couch seem impossibly high to a furry piglet with too much junk in the trunk. The house rule is that Sparky can come up onto the couch when invited and there is a bedsheet or blanket. I removed the bedsheet and wadded it up on the back of the couch.
He is clearly insubordinate.